Contents
- 1 Backpacking Tent Basics and What Really Matters
- 2 Key Criteria for Choosing the Right Backpacking Tent
- 3 Quick Steps for Choosing a Backpacking Tent
- 4 Top Backpacking Tents for Beginners
- 5 Features Worth Paying Attention To
- 6 Extra Details and Challenges to Keep in Mind
- 7 Advanced Tips for Experienced Backpackers
- 8 The Basics on Gear That’s Worth Investing In
- 9 Frequently Asked Questions
- 10 Getting Out There With the Right Shelter
If you enjoy hiking into remote places or simply love sleeping under the stars, finding the right backpacking tent will make your trips a lot more comfortable. There are plenty of options out there, and choosing the right one comes down to a handful of practical details. I’ll walk you through everything I look for when picking a backpacking tent, helping you focus on what matters without getting lost in all the specs.
QUICK LOOK: Keys to Choosing the Right Backpacking Tent
- Weight and Packability: For backpacking, the lighter and more compact the tent, the better. Ultralight options can trim pounds off your pack but may sacrifice some comfort or durability. I pay attention to minimum trail weight, which covers the tent body, rainfly, and poles—everything I need for a night’s sleep.
- Materials: Lighter fabrics generally reduce weight, but not all are created equal. Silicone/polyurethane-coated nylon is common for reducing weight, but can be less robust than thicker, heavier tent materials. Poles made from aluminum are strong and keep weight down.
- Seasonality: A 3-season tent works for spring, summer, and fall in most areas. If I plan to hike in snowy or super windy conditions, I look for a solid 4-season tent, which adds more support and weather protection but does weigh more.
- Weather Resistance: Quality fabrics with waterproof coatings and sealed seams keep water out. Full rainfly coverage is really important for dealing with downpours. I also like to see plenty of mesh for ventilation to fight condensation inside the tent.
- Interior Space and Comfort: Tent size matters, especially on long trips or rainy days spent inside. Some tents run small, so I sometimes size up for extra square footage. Vestibules provide protected space for packs and muddy boots. Pockets and gear lofts help me keep track of all my stuff.
- Ease of Setup: Freestanding designs are great because they set up almost anywhere, even on rocky ground where stakes won’t go in. Simple pole systems with color coding make pitching less of a headache after a long hike.
Backpacking Tent Basics and What Really Matters
Backpacking tents need to do one thing well: offer reliable shelter without weighing you down. Unlike car camping tents, every ounce counts. Tents designed for backpacking typically use lighter materials and pack down smaller to fit easily in your bag.
Modern hiking tents also take into account the changing needs of outdoor enthusiasts, with several styles now available for solo adventurers, pairs, and small groups. Understanding the basics helps make sense of what you need versus what sounds cool but might just add weight.
When I started backpacking, I found that sorting through tent lingo and features could get confusing. Some terms you’ll likely see include doublewall (which means a tent with a separate rainfly and mesh inner), freestanding vs. nonfreestanding, and season ratings. Figuring out what features matter for your trips will help avoid buying a tent that’s either too much or not enough for your adventures.
Key Criteria for Choosing the Right Backpacking Tent
Picking a backpacking tent isn’t just about price or color. Here are the top features I always weigh before grabbing one for my kit:
- Weight and Packability: For backpacking, the lighter and more compact the tent, the better. Ultralight options can trim pounds off your pack but may sacrifice some comfort or durability. I pay attention to minimum trail weight, which covers the tent body, rainfly, and poles—everything I need for a night’s sleep.
- Materials: Lighter fabrics generally reduce weight, but not all are created equal. Silicone/polyurethane-coated nylon is common for reducing weight, but can be less robust than thicker, heavier tent materials. Poles made from aluminum are strong and keep weight down.
- Seasonality: A 3-season tent works for spring, summer, and fall in most areas. If I plan to hike in snowy or super windy conditions, I look for a solid 4-season tent, which adds more support and weather protection but does weigh more.
- Weather Resistance: Quality fabrics with waterproof coatings and sealed seams keep water out. Full rainfly coverage is really important for dealing with downpours. I also like to see plenty of mesh for ventilation to fight condensation inside the tent.
- Interior Space and Comfort: Tent size matters, especially on long trips or rainy days spent inside. Some tents run small, so I sometimes size up for extra square footage. Vestibules provide protected space for packs and muddy boots. Pockets and gear lofts help me keep track of all my stuff.
- Ease of Setup: Freestanding designs are great because they set up almost anywhere, even on rocky ground where stakes won’t go in. Simple pole systems with color coding make pitching less of a headache after a long hike.
Quick Steps for Choosing a Backpacking Tent
Having a clear process makes narrowing down tent options less stressful. Here’s how I approach my choice:
- Decide on Capacity: Most tents are labeled as 1-person, 2-person, or 3-person. I think about whether I’ll be camping solo, with a partner, or if I want extra room for comfort or gear.
- Choose Season Rating: For typical three-season hikes, a lighter, well-ventilated tent works. In winter, a heavier tent with fewer mesh panels and a sturdier pole structure holds up better in storms and snow.
- Check the Weight: Balancing comfort and low weight is a personal call. If I value speed and traveling light, I go for ultralight models. For base camps or slower trips, a slightly heavier tent with more room makes more sense.
- Inspect Materials and Durability: Strong zippers, ripstop nylon, and tough poles mean fewer worries about repairing gear in the field.
- Size Up Packability: Smaller packed sizes make organizing my backpack a lot easier. I look for a stuff sack that fits my pack and leaves space for the rest of my gear.
- Try Setup at Home: Before heading out, pitching the tent in my living room or backyard gives me confidence (and cuts stress if the weather is rough on the trip).
With these steps in mind, I find it much easier to pick the right tent for each upcoming trip. It’s a relief to break the process down into manageable steps; keeping this checklist in mind saves a ton of hassle once you’re in the gear shop or scrolling through options online. If you’re unsure, it helps to ask friends or read reviews, which can give a better real-world sense of which features are worth your attention.
Top Backpacking Tents for Beginners
Starting your backpacking journey with the right tent can make all the difference in comfort and confidence. For beginners, you’ll want something lightweight, easy to set up, and durable enough to handle unpredictable weather.
You might want to check out:
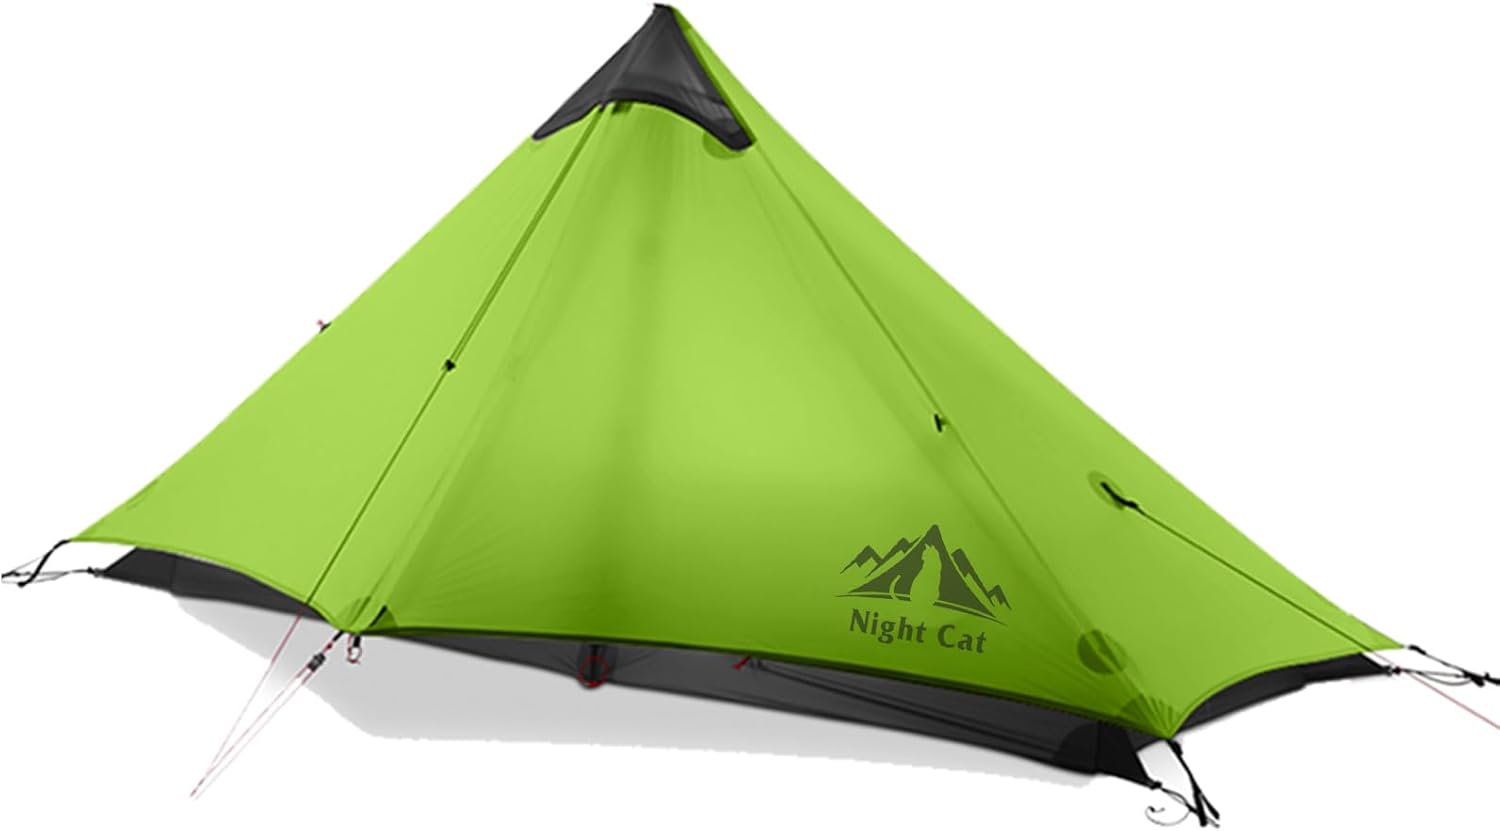
Night Cat Ultralight Tent
A favorite among first-timers for its simple setup and lightweight design, perfect for solo trips.
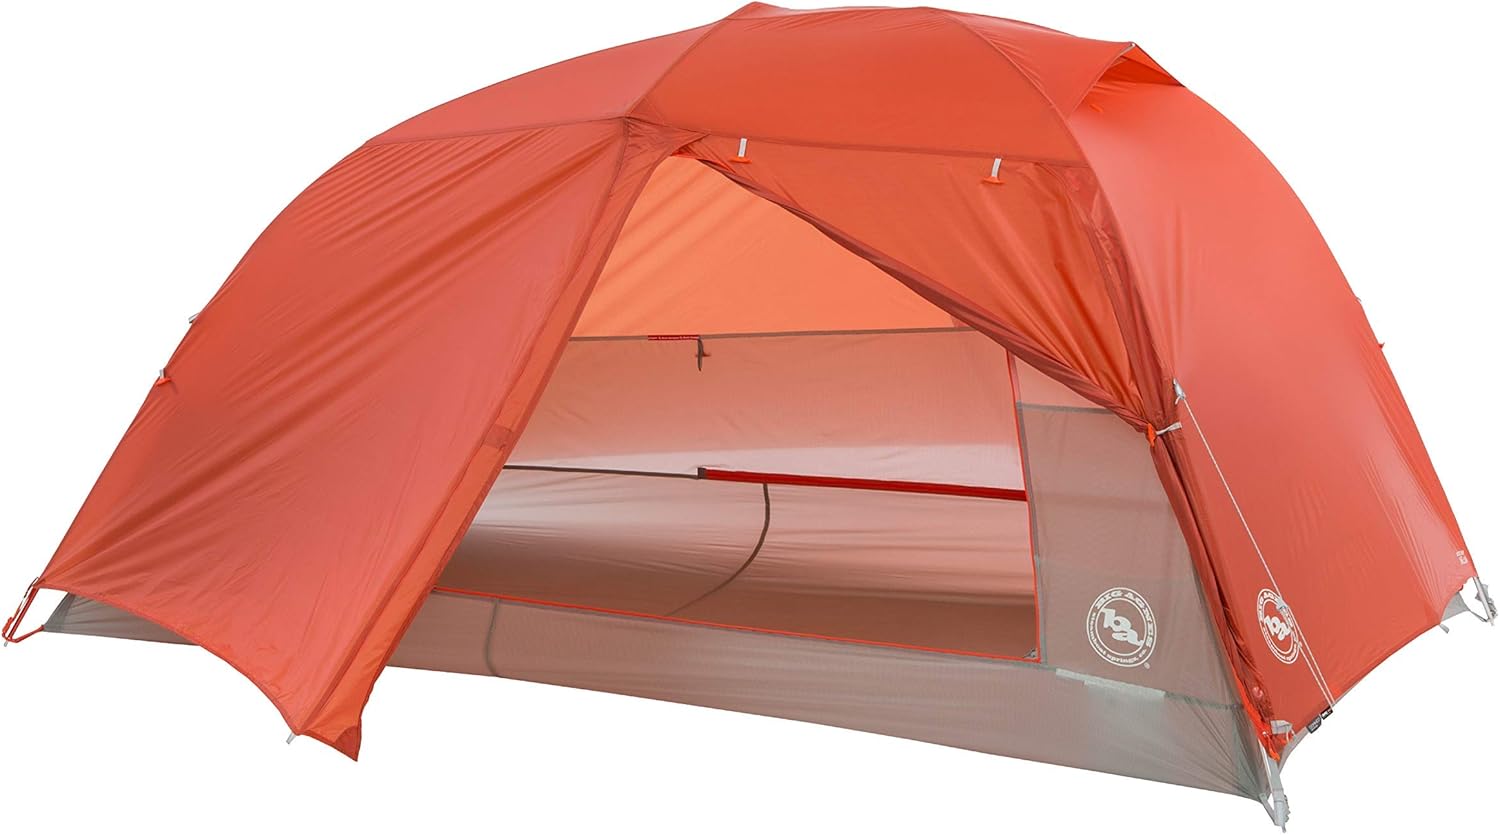
Big Agnes Copper Spur HV UL2
Offers a great balance of space and weight, with intuitive features that make it beginner-friendly.
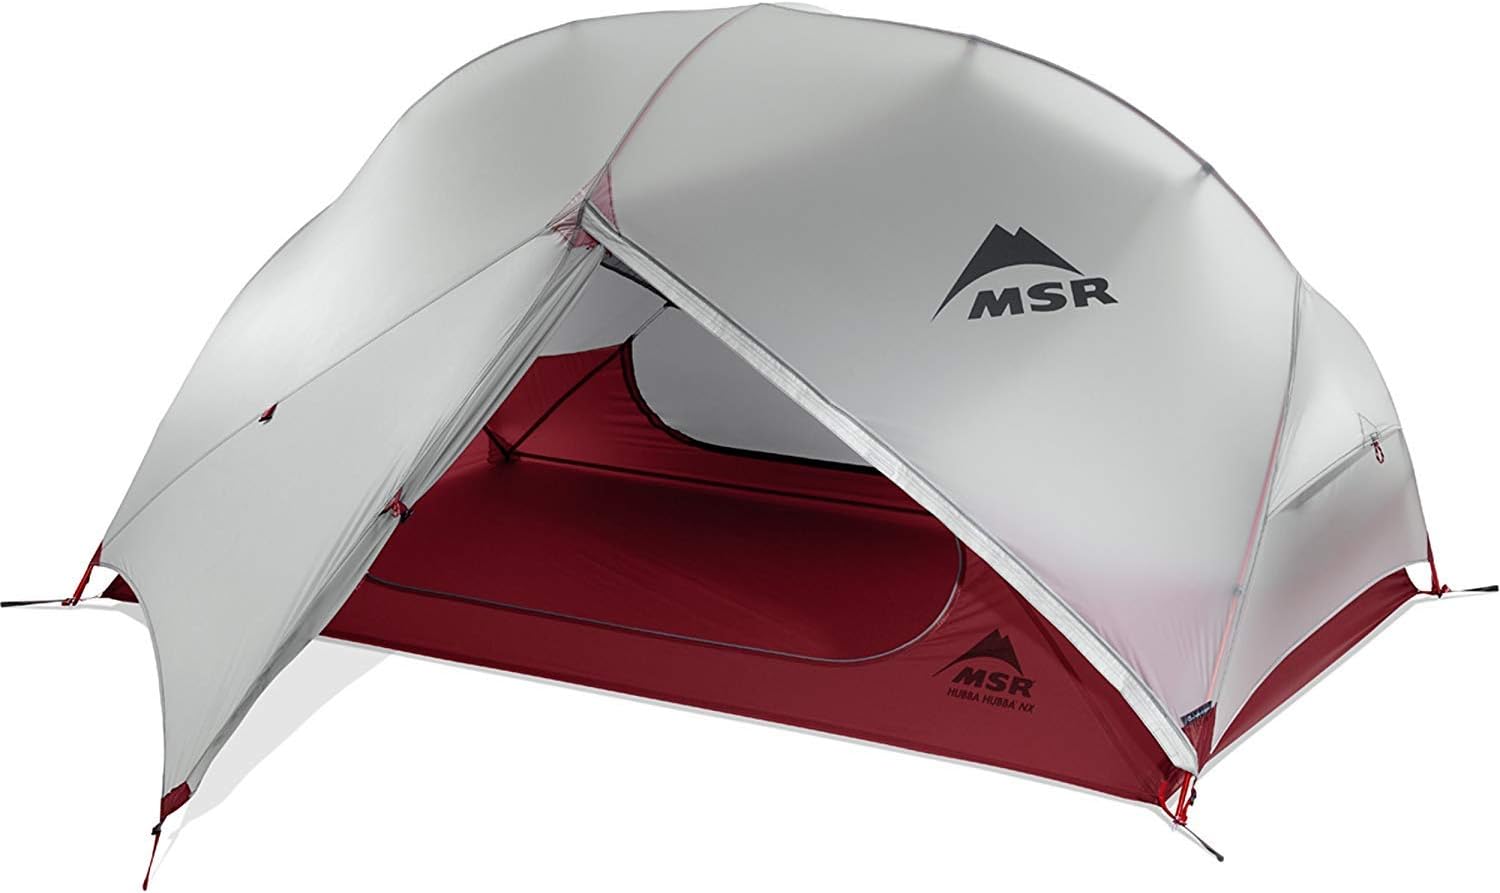
MSR Hubba NX 2
Known for its durability and weather resistance, ideal if you’re venturing into more rugged terrain.
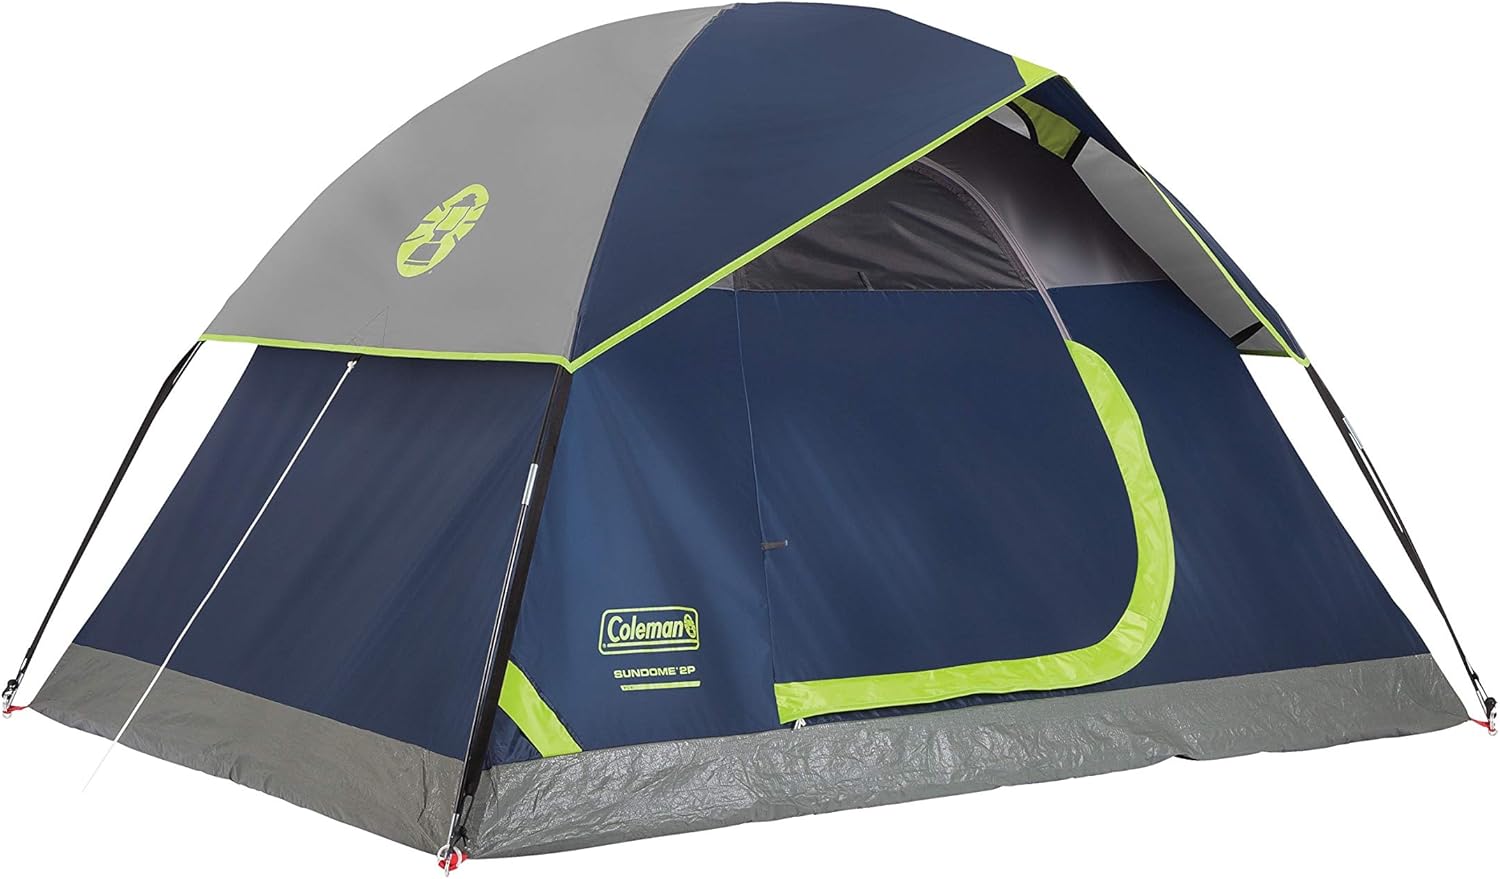
Coleman Sundome 2-Person Tent
A budget-friendly option that’s easy to pitch and roomy enough for two.
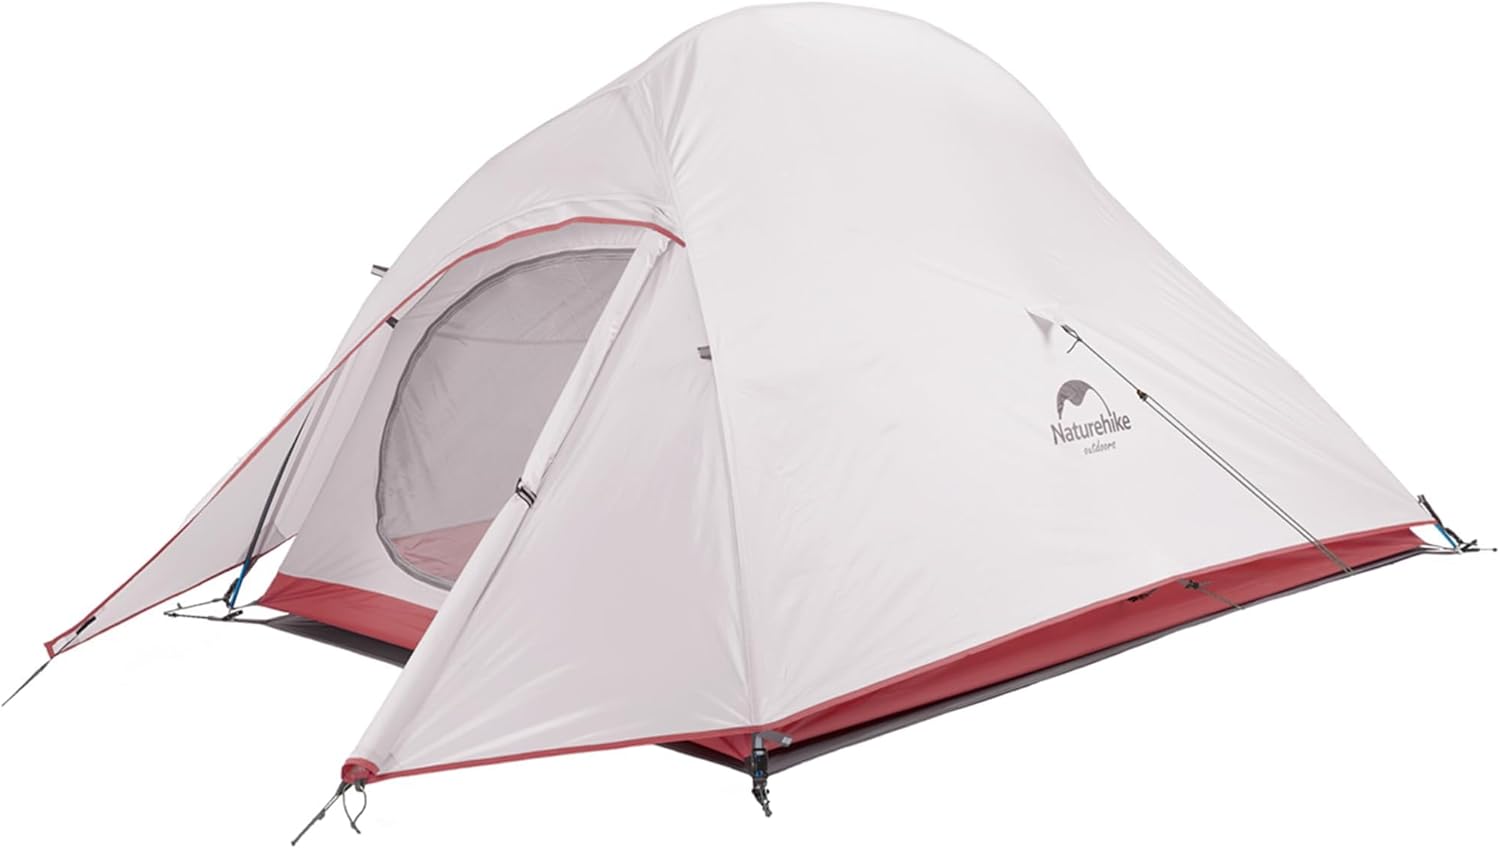
Naturehike Cloud Up 2
Lightweight and compact, this tent is a solid choice for those looking to keep their pack light without sacrificing comfort.
Features Worth Paying Attention To
- Rainfly Design: A full coverage rainfly keeps everything dry during storms. Some ultralight tents have minimal rain coverage, which I avoid if I expect bad weather.
- Ventilation: Tents with bigger mesh panels and cross-venting keep the air moving, which is super important in humid or rainy areas. Windows and vents can often be propped open without letting in rain.
- Doors and Vestibules: Two doors make getting up at night easier if I’m sharing my tent. Large vestibules give me space to stash muddy gear or cook under cover.
- Footprints: A separate footprint or groundsheet protects the tent floor from sticks, rocks, and rough ground. This little item extends tent life and keeps moisture from soaking through in heavy rain.
- Internal Storage: Gear pockets and hang loops keep my lamp, phone, and other essentials easy to grab at night.
Extra Details and Challenges to Keep in Mind
Like most outdoor gear, backpacking tents come with their tradeoffs. Here are a few common issues I’ve run into, plus some ways to deal with them:
- Condensation: Even breathable tents can get damp from moisture inside. I tackle this by pitching with all the vents open whenever possible and wiping down condensation in the morning if needed.
- Packing Wet: After a stormy night or if I make camp in the rain, tents go into my backpack wet. I keep a dry bag for my sleeping bag and clothes, then dry out the tent at lunch or when the sun comes out.
- Small Interiors: Lightweight tents often sacrifice space. If storms are in the forecast or I plan to lounge in the tent, choosing a model with a bigger floor area or a higher peak height pays off.
- Setup in the Wind: Nonfreestanding tents (especially single-wall ultralight shelters) can be tricky in strong wind or on hard ground. I practice setting up my tent quickly and use extra guy lines for support.
Condensation and What Works
Moisture buildup inside your tent is almost unavoidable, especially on cool nights. I always prioritize ventilation when setting up and leave the rainfly door open a bit if it’s not raining hard. Keeping wet boots and gear in the vestibule also helps reduce humidity inside. If you get stuck with too much moisture, a quick morning wipe down usually does the trick and keeps your gear fresh for the next night.
Small Space Solutions
When camping with a partner or a dog, small tents can feel cramped. I sometimes split gear storage between inside pockets and the vestibule, and use lightweight camp furniture outside when weather allows. A little organization goes a long way to making any tight spot feel a lot more livable, so get creative with how you stash your things!
Advanced Tips for Experienced Backpackers
Once you’ve dialed in your basic shelter needs, a few strategic upgrades can improve comfort and efficiency:
Fine Tuning for Terrain: In rocky or alpine areas, I look for freestanding tents with tough fabrics and reinforced corners. Stakedown options and additional guyout points make sure the shelter stays put in gusty weather.
Mix and Match Shelters: On shorter trips or in mild weather, packing just a lightweight tarp and bivy offers flexibility and saves even more weight. I sometimes swap out my full tent for a simple bug net in dry conditions, freeing up space for other gear. These shelter combos are great when every ounce matters, and you can always add or subtract based on the forecast.
Customizing Footprints: Using Tyvek or trimmed plastic sheeting instead of a factory footprint can save money and shed a couple of ounces from my pack. I cut these to match the tent’s floor shape for custom coverage without extra bulk. These DIY solutions put you in control of weight and durability for the conditions you expect.
Adding Extra Creature Comforts: After dialing in the basics, small upgrades can make sleep and relaxation a lot better. Inflatable pillows, small LED lights, or even a packable camp chair can give a boost to your setup without adding too much weight. Test these extras before your trip to find which add the most value for your style of camping.
The Basics on Gear That’s Worth Investing In
A reliable tent, a good sleeping bag, and a supportive sleeping pad are my core trio for successful backcountry trips. A good tent frequently ends up making the difference between a restful night and a rough one. Friends who hike with me regularly have upgraded from budget pop-up tents to well-constructed backpacking tents once they’ve tried sleeping in reliably dry, easy-to-set-up shelters.
Tents with dependable zippers and rainflies have spared me from some uncomfortable nights. Comfort can sometimes mean simply knowing your shelter won’t fail, even when the weather turns gnarly.
- Multi-Day Treks: Lightweight, weatherproof tents allow me to cover more ground with less hassle from gear failures or waterlogged nights.
- Weekend Getaways: Slimmer, easier to carry models make quick escapes to local trails stress-free and enjoyable.
- Alpine and Winter Adventure: Heavy-duty tents designed for four seasons keep me safe from wind and snow when trekking above the treeline.
Frequently Asked Questions
Here are some questions I hear a lot from hikers looking to buy their first backpacking tent:
Should I choose a one-person or two-person tent if I usually hike alone?
I often choose a two-person tent for solo trips if I expect bad weather or want more room for gear. The extra space is nice during rainy stretches or longer hikes.
Can I bring my dog in a lightweight tent?
Many tents will fit a dog, but I look for thicker floors and larger vestibules. A sleeping pad for my dog also helps protect the tent materials.
Is a factory footprint necessary?
It can help, but DIY alternatives like trimmed Tyvek or plastic work just as well and can save money and weight.
Getting Out There With the Right Shelter
The right backpacking tent keeps you comfortable, dry, and excited for new nights on the trail. With smart choices around weight, durability, weather resistance, and comfort, you’ll end up with a tent that’s just as fun to set up at a mountain lake as it is on your favorite local hike. Planning and experimenting with different setups will sharpen your preferences over time, and soon you’ll find yourself looking forward to every trip, no matter the forecast.
Most Recent Articles:
- Reliable Trail Camera Rigs For Hunters On A Tight Budget

- Suburban Bowhunting Tips

- Guide To Portable LED Headlamps For The Outdoors

- Navigating Private Land Permissions For DIY Hunting Adventures

- DIY Hunting Requires Expensive High-end Gear Myth Debunked
- Reviewing Compact Rangefinders For Precision In DIY Hunting

As always, stay safe, enjoy the journey, and please try to leave it cleaner than you found it. If you have any comments, questions, ideas, or suggestions, please leave them in the comment section below, and I’ll get back to you ASAP. You can follow us on YouTube: Man Art Creations for videos of our DIY Adventures.
P.S. Thanks so much for checking out our blog; we really appreciate it. Just so you know, we may receive a commission if you click on some of the links that appear on our site. This helps us keep our content free and up-to-date for everyone. We appreciate your support!

