Contents
- 1 Key Types of Camera Mounts for Hunting
- 2 Tripods: The Reliable All-Rounder
- 3 Camera Arms: Flexible Shots from Treestands and Blinds
- 4 Trail Camera Mounts: Scouting and Wildlife Monitoring
- 5 Action Camera Mounts: Capturing Creative Angles
- 6 Choosing Materials and Building Your Own DIY Camera Mounts
- 7 Important Factors When Selecting Your Camera Mount
- 8 Common Issues and How to Prevent Them
- 9 Advanced Tips and Creative Mounting Ideas
- 10 Frequently Asked Questions
- 11 Final Thoughts on Building Your Own Hunting Camera Mounts
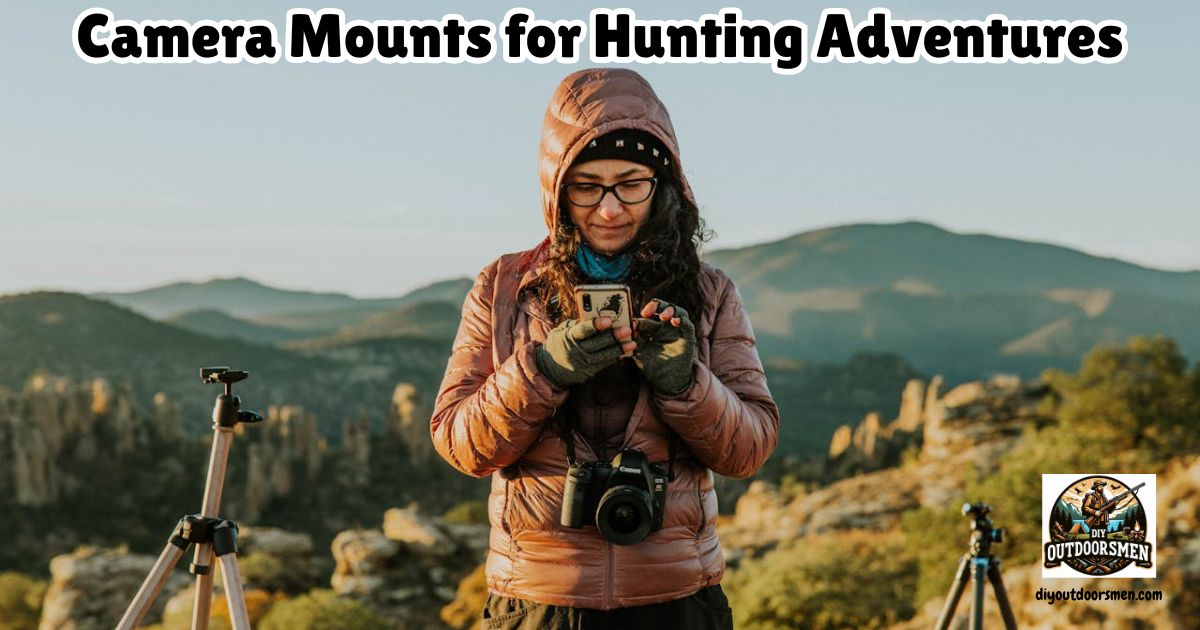
Capturing your hunting trips with photos and videos adds a new level of excitement to the experience. Over time, I’ve found that having the right camera mounts not only helps me get sharper shots but also lets me tell the full story of my adventures in the woods.
QUICK LOOK: Factors to Consider for Hunting Camera Mounts
- Weight capacity: Make sure your mount easily supports the camera’s weight, even when bumped or jolted.
- Stability: The steadier the mount, the sharper your photos and quieter your video.
- Ease of setup: In the field, I want quick setup and takedown, especially if I’m moving between spots.
- Compatibility: Not all mounts work with every camera or accessory, so double-check before heading out.
- Durability: Outdoor use means weather and tough conditions, so choose materials that last and won’t rust or crack after a few trips.
- Noise: Silent operation is really important. I always pad my mounts with a bit of rubber or duct tape to stop any metal-on-metal sounds.
There are lots of options out there, and knowing what works best for your style of hunting is important. I’m going to walk you through a practical guide to DIY camera mounts you can use for hunting. These ideas will help you get steady, creative footage, whether you’re in a tree stand or hiking the backcountry.
Key Types of Camera Mounts for Hunting
I’ve tried out several types of camera mounts while hunting, and each one serves a different purpose. Some keep the camera steady for clear shots, while others are all about flexibility or capturing close-up action. Here are the main options:
- Tripods: Great for ground-level shots or stationary video.
- Camera arms: Ideal for treestand or blind setups.
- Trail camera mounts: Used for scouting and long-term monitoring.
- Action camera mounts: Give you first-person or gear-mounted angles.
By understanding how each mount is used, I’ve gotten more creative with my photos and videos, while saving time setting up in the field. Picking the right style can change how much of the hunt you can share with others.
Tripods: The Reliable All-Rounder
When I’m hunting from the ground or want a stable landscape shot, a tripod is my main choice. A good tripod supports both traditional cameras and smartphones (with an adapter) and helps avoid blurry shots from shaky hands or uneven ground.
- Stability: Look for one with adjustable, sturdy legs that work well for uneven forest floors.
- Panning heads: Tripods with smooth panning heads make it easier to follow animals silently.
- DIY tip: I’ve fashioned a simple tripod from sturdy tree branches lashed together with paracord. If you travel light, lightweight collapsible tripods from the camera shop are also worth a look.
Tripods are easy to set up on the ground or even secured to low platforms. They’re especially useful for those “waiting game” situations, like when I’m watching a game trail or water hole. Some hunters add a little extra stability by pressing the tripod legs into soft earth for a snug fit, and leveling with small rocks or sandbags can make a big difference in windy conditions.
Camera Arms: Flexible Shots from Treestands and Blinds
If you prefer hunting from a stand or blind, a camera arm is a smart solution. These mounts attach to a tree or frame, letting you move the camera quietly for a better angle. The flexibility helps you get the shot without making a lot of movement.
- Quick adjustment: Many camera arms have an adjustable ball head for smooth movements.
- Height and angle: You can set the camera above, below, or next to you, giving you different views.
- DIY solutions: I’ve made basic camera arms using PVC pipe or thick wire and hose clamps to secure the mount to a tree.
Brands like Muddy and Fourth Arrow make readymade camera arms, but homemade options work fine if you’re on a budget or enjoy building your gear. Just remember to check for quiet operation and make sure your setup doesn’t creak or squeak when you move it, which could spook the game nearby.
Trail Camera Mounts: Scouting and Wildlife Monitoring
Trail cameras let me scout game when I’m not in the woods. The right mount helps me position the camera for the best view of trails, feeders, or water sources. Many commercial mounts screw into trees or use sturdy straps. Mounts with adjustable joints let me change the angle so animal movement gets captured perfectly.
- Screwin mounts: Simple and reliable; I’ve used lag bolts or heavy-duty hooks for a DIY solution.
- Strapon mounts: More friendly to trees and easier to adjust or remove.
- Stake mounts: Handy in open areas with no trees, just push into the ground and adjust the angle.
I check that the mount is stable, quiet to adjust, and keeps the camera safe from the elements and local animals. A little creativity goes a long way. I once used a large tent stake and some flexible rubber tubing for a surprisingly effective ground-level mount that held up well in tough weather, too. For areas with heavy animal traffic, camouflage your mounts so local animals don’t get curious and knock over your equipment.
Action Camera Mounts: Capturing Creative Angles
For hands-free filming and first-person angles, nothing beats a compact action camera like a GoPro. Mounts designed for helmets, bows, or firearms help capture the excitement of the moment. I like to place a GoPro on my bow or gun stock to get a real sense of the hunt.
- Helmet mounts: Capture your view, ideal for hiking or moving through brush.
- Bow/gun mounts: Some clamps fit rails or stabilizers; double-check compatibility to keep your camera secure.
- Chest and shoulder straps: Good for all-day wear and capturing steady video while you move.
Many mounting accessories are available for action cameras, but I’ve also used Velcro straps and zip ties to rig up quick fixes in the field. The main thing is making sure nothing rattles or slips—nothing ruins a shot faster than a shaking mount just as the action begins. Pick an action camera mount that matches your gear and isn’t in the way while you’re hunting.
Choosing Materials and Building Your Own DIY Camera Mounts
Building camera mounts at home can be simple and affordable. I use basic materials from the hardware store and modify them for hunting use. Here’s what works for me:
- PVC pipe: Lightweight, easy to cut, and strong enough for most cameras.
- Hose clamps: Great for attaching mounts securely to trees, poles, or stands.
- Flexible tripod legs: Repurpose these from old tripods to grip odd shapes, like branches or stand rails.
- Paracord: Doubles as a tie-down or for building a quick lashing system.
- Rubber tubing: Helps quiet things down so mounts don’t make noise if bumped.
My favorite quickbuild is a PVC pipe arm with a universal camera screw. Drill holes for adjustability and mount it with hose clamps to almost any surface. For action cameras, stick with the standard two-prong mounts and use Velcro or zip ties for custom locations. These materials are cheap, easy to find, and tough enough for rugged use on long hunts.
Important Factors When Selecting Your Camera Mount
Every hunting situation is a bit different, so choosing the right mount means thinking through a few important details:
- Weight capacity: Make sure your mount easily supports the camera’s weight, even when bumped or jolted.
- Stability: The steadier the mount, the sharper your photos and quieter your video.
- Ease of setup: In the field, I want quick setup and takedown, especially if I’m moving between spots.
- Compatibility: Not all mounts work with every camera or accessory, so double-check before heading out.
- Durability: Outdoor use means weather and tough conditions, so choose materials that last and won’t rust or crack after a few trips.
- Noise: Silent operation is really important. I always pad my mounts with a bit of rubber or duct tape to stop any metal-on-metal sounds.
Careful research helps hunters make informed decisions. I read reviews, watch gear tests, and experiment with DIY setups before settling on a final design or purchase.
Common Issues and How to Prevent Them
I’ve run into some issues over the years, some of which were easy to fix after a little trial and error:
- Camera shake: Even a strong wind can cause blurry images. I use sandbags or rocks to anchor tripod legs for extra stability.
- Mount slipping: Checking all clamps or fasteners before every hunt became a habit, since gear can wiggle loose over time.
- Equipment failure: Moisture and mud can affect camera mounts. I pack a small repair kit with extra zip ties, screws, and tape just in case.
- Battery life: Recording video drains batteries quickly, and cold weather makes it worse. Bringing extra batteries and keeping them insulated in my jacket keeps things running longer.
Staying prepared with a backup plan saves a lot of frustration. If something fails, I prefer to have a low-tech backup so I can still capture my hunt. Double-checking gear before you head out in the morning also helps prevent surprises once you’re set up in the field.
Advanced Tips and Creative Mounting Ideas
Once you’re comfortable with the basics, experimenting with new angles and mounts can improve your hunting footage. Here are some of my favorite advanced ideas:
- Multicam setups: Use several cameras, one at you, one down the trail, and one for B-roll shots. This tells the story from all angles.
- Quick-release systems: I add quick-release plates to my cameras and mounts for easy swaps between positions.
- Use magnets: For mounting small cameras on metal stands or blinds, strong magnets work surprisingly well, just be sure nothing falls off if jolted.
- Blend in: Painting mounts in camo or using brown-green tape helps them disappear in the woods so they don’t spook game.
Staying flexible and creative with your mounting strategy gives you better footage and less chance of missing an exciting moment. Adding a little extra effort to try new perspectives or test new ideas can pay off when you review your captures at the end of the day.
Frequently Asked Questions
Here are a few common questions I get from hunters looking to record their trips:
What’s the easiest DIY camera mount for a beginner?
A basic tripod or a screw-in tree mount is easy to build and use. Even a stick and paracord setup can work for quick photos.
How can I keep my camera gear quiet in the field?
Wrap contact points in rubber or cloth and check for loose hardware before each use. Padded mounts and tape also help silence squeaks and rattles.
What’s the best way to protect my camera during hunting trips?
Use waterproof pouches, keep spare batteries dry, and pack rain covers or plastic bags for sudden weather changes.
Final Thoughts on Building Your Own Hunting Camera Mounts
Having a DIY camera mount can make a big difference in what you’re able to capture on your hunts. Trying different setups is a smart way to find out what works best for your hunting style. Most options are affordable, easy to build, and can be adjusted for just about any location or type of camera.
With some planning and a willingness to try new things, I’ve found my hunts are better documented and way more memorable. Give it a shot next time you’re packing for the woods. You might track down a new favorite hobby alongside hunting itself.
Most Recent Articles:
- Off-road Vehicle Recovery Techniques
- Electric Vs. Manual Game Calls and Which Works Better?

- Comparing All-Terrain UTV Winches For Remote Hunting Access

- How To Create Wildlife Bait From Kitchen Scraps

- Reliable Trail Camera Rigs For Hunters On A Tight Budget
- Suburban Bowhunting Tips
As always, stay safe, enjoy the journey, and please try to leave it cleaner than you found it. If you have any comments, questions, ideas, or suggestions, please leave them in the comment section below, and I’ll get back to you ASAP. You can follow us on YouTube: Man Art Creations for videos of our DIY Adventures.
P.S. Thanks so much for checking out our blog; we really appreciate it. Just so you know, we may receive a commission if you click on some of the links that appear on our site. This helps us keep our content free and up-to-date for everyone. We appreciate your support!

