Contents
- 1 Why Edit Your Hunting Photos?
- 2 Starting With The Basics with Crop and Composition
- 3 Getting The Lighting Right: for Brightness, Contrast, and Color
- 4 Editing With Presets and Filters
- 5 Sharpening Details and Reducing Noise
- 6 Creative Touches Like Depth, Blur, and Vignettes
- 7 Final Checks Before Sharing
- 8 Getting Organized with Smart Editing Workflow
- 9 Tips For Real-Life Outdoor Editing Challenges
- 10 Frequently Asked Questions About Editing Hunting Photos
- 11 Wrapping Up on Editing Advice for Memorable Hunting Images
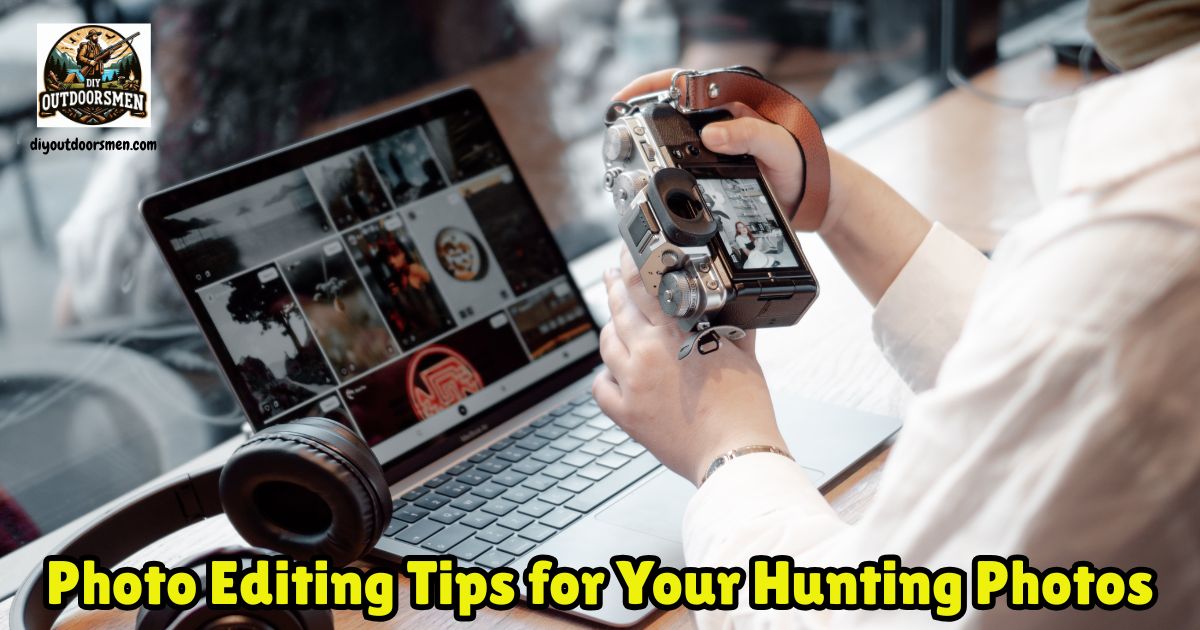
Editing hunting photos can truly shape how others experience your work. I use editing not to change the truth of a scene, but to bring out the best qualities—clarity, color, and the feeling I want the moment to convey.
QUICK LOOK: Tips for Editing Hunting Photos
- Crop and Composition: I always start with composition. Cropping is my first move to make an image look better. The goal is to get rid of anything that pulls attention away from the hunter, the game, or the landscape.
- Lighting, Color, and Contrast: Perfect lighting in the field is rare. Shadows feel harsh sometimes, colors look washed out, or the photo might just feel flat. Editing helps get things closer to how I remember them.
- Presets and Filters: Presets and filters help if you want a consistent look, especially with a batch of hunting photos from one trip. I use them for quick, basic edits, but always tweak each image to fit its mood.
- Sharpness: Once lighting and color are set, sharpening brings out the details. Just a bit of sharpening makes fur, feathers, gear, and textures jump out. It’s easy to overdo it, though; go too far, and you’ll see harsh lines around edges.
- Creative Touches: A blurred background can help pull focus to the main subject. Though some cameras do this automatically, a little more blur in editing can work wonders. Adding a vignette means darkening the edges around your photo a bit.
- Final Checks before Sharing: Checking images both on your phone and on a computer monitor also helps spot problems, since colors and light can look different on various screens.
Good editing turns an ordinary photo into something people want to share and remember. I’m going to walk you through my process for editing hunting photos and offer practical tips you can use, even if you’re just getting started.
Why Edit Your Hunting Photos?
Editing isn’t about hiding flaws. Rather, it’s a way to shine a light on what the photo is truly about. In hunting photos, I focus on telling a story. Sometimes it’s the pride after a successful hunt, other times it’s the beauty of the wild outdoors, or just a memorable moment with friends.
Camera settings and outdoor conditions can leave images dull or uneven. Editing helps give a boost to what you saw in real life. When I got into outdoor photography, I immediately noticed the difference between the photos right out of the camera and those shared by skilled, popular outdoors photographers.
In their photos, details popped, lighting felt natural, and backgrounds didn’t pull attention from the main subject. Careful editing helped achieve that. With some practice, I learned that just a few changes can add to any hunting photo’s quality.
Starting With The Basics with Crop and Composition
It doesn’t matter which editing app or software you use; I always start with composition. Cropping is my first move for making an image look better. The goal is to get rid of anything that pulls attention away from the hunter, the game, or the landscape.
Things like fence posts, odd branches, or a backpack on the edge make the shot look busy. Cropping tightly around the most important parts gives a cleaner, more focused look. I also check the horizon. Leaning trees or slanted horizons can make an image feel off, even if you didn’t notice it in the field.
Almost every editing app has a straightening tool, so it’s quick to fix. Giving your photo a careful once-over before jumping into more advanced edits will save you time and make the end result look much more professional.
Shooting from different angles while taking photos opens up more options in editing. I like low-angle shots to make the subject feel strong or more connected with the environment. When editing, trying a few crops with these perspectives can reveal the most powerful composition. Sometimes, a small crop can cut out distractions and instantly give your photo a big upgrade.
Getting The Lighting Right: for Brightness, Contrast, and Color
Perfect lighting in the field is rare. Shadows feel harsh sometimes, colors look washed out, or the photo might just feel flat. Editing helps get things closer to how I remember them.
- I usually start by raising or lowering the brightness, so nothing important is hidden in the dark or the light.
- Then I make small tweaks to contrast, helping the subject stand apart from the background and making details pop.
- Making colors stand out is a balancing act. Sometimes, bumping up saturation gives greens and browns some extra punch, making autumn leaves pop, or just bringing life to a dull scene. Other times, dialing the color back brings a more natural and realistic look, staying true to what you saw. The key is to avoid pushing it to the point where things look artificial.
- Check skin tones or animal features, and keep an eye on the landscape’s natural palette. White balance helps fix color tints caused by sunrise or late afternoon light. When a photo looks too orange or blue, a quick white balance fix brings things back to normal. This is one tool I depend on when shooting early or late in the day, when the light is always changing.
Editing With Presets and Filters
Presets and filters help if you want a consistent look, especially with a batch of hunting photos from one trip. I use them for quick, basic edits, but always tweak each image to fit its mood. For me, presets are just the starting line, not the finish.
Applying a preset can make fast improvements, but customizing the result gives your photo a unique touch. Most editing apps provide landscape or outdoor presets that work well for hunting images. After applying, I usually turn down the intensity to keep everything balanced.
Trying out different color palettes helps set a mood. Cooler tones can give a misty, peaceful feeling, while warmer colors make photos seem sunny and full of life. Experimenting with these can help your photos stand out in your collection.
Sharpening Details and Reducing Noise
Once lighting and color are set, sharpening brings out the details. Just a bit of sharpening makes fur, feathers, gear, and textures jump out. It’s easy to overdo it, though; go too far, and you’ll see harsh lines around edges. I keep sharpening subtle, focusing on making things crisp without looking harsh.
In low light, photos sometimes pick up graininess. This is where the noise reduction tool comes in. I use this to smooth out grain, but I’m careful not to lose details, since too much noise reduction will make the image look muddy or overly soft. The trick is to zoom in while you adjust, stopping when things look cleaner but still natural.
Creative Touches Like Depth, Blur, and Vignettes
A blurred background can help pull focus to the main subject. Though some cameras do this automatically, a little more blur in editing can work wonders. I use a brush or mask in my editing app to gently blur behind the subject, making the main features “pop” and adding a sense of depth. Aim for subtle changes, so the effect feels natural.
Adding a vignette means darkening the edges around your photo a bit. With hunting photos, heavy vignettes can look old-fashioned, so I only add a touch. This gentle effect pulls the viewer’s gaze toward the center, keeping things looking modern and fresh.
Final Checks Before Sharing
I always give my eyes a break before deciding a photo is done. Stepping away—even just for an hour—helps spot things you missed, like odd colors or funny shadows. Checking images both on your phone and on a computer monitor also helps spot problems, since colors and light can look different on various screens.
For online sharing, I export photos as JPEGs and choose a size that won’t slow down uploading or loading. When I plan to print, I go for higher resolution and save in formats like TIFF or PNG for the best quality. Making different-sized copies is convenient if you want to share with friends or post in several online places.
Getting Organized with Smart Editing Workflow
Having a solid folder structure makes editing and archiving way easier.
- For every hunt, I create a folder named with the date and location. Inside, everything is sorted: “Raw,” “To Edit,” and “Finished.” This routine keeps things tidy, making it easy to revisit old shoots without digging through a cluttered hard drive.
- I back up my files regularly, both on my computer and on an external device, keeping my best memories safe.
- Whenever possible, I shoot in RAW mode instead of JPEG. RAW saves more data for each image, giving a lot of flexibility for exposure, color, and detail changes. With almost every modern app working with RAW files, making the switch can seriously upgrade your editing freedom.
- Trying out new tools and techniques is a great way to grow your personal style. Many of my best tricks came from testing features I had never tried before or from seeing what others did and trying it myself.
- I always compare my final edit with the original to be sure the changes I made improved the photo, not just changed it. Working with friends or sharing with others for opinions is also a great way to spot new angles or ideas you hadn’t considered.
Tips For Real-Life Outdoor Editing Challenges
Weather on a hunt can switch up in seconds, and all of that shows up in your pictures. Overcast hides natural color, while sunlight blasts harsh shadows. I always adjust highlights and shadows to show details in both bright and dark places. When fog or mist washes out the morning, the “dehaze” tool is a lifesaver to sharpen the view.
If your equipment picks up dirt or rain, the spot-removal tool quickly cleans up marks or random specks. It pays to zoom in on busy backgrounds and remove distracting bits—every detail counts. Spot-removal also helps if a stray leaf or bug made its way into an otherwise perfect shot.
Editing with friends is not only fun but helpful. Someone else might pick up things you missed or offer advice about which edit looks best. Swapping before-and-after versions also brings cool feedback, and you both walk away learning something new.
Frequently Asked Questions About Editing Hunting Photos
What’s the fastest way to make hunting photos look better?
Start by cropping, fixing the horizon, and making quick tweaks to brightness and contrast. This trio provides noticeable improvements right away.
Do I need special software, or can I use free apps?
Free apps like Snapseed or Lightroom Mobile work for a lot of edits, and some even offer advanced options. Professional tools like Adobe Lightroom or Photoshop have more flexibility, but you’ll get solid results with the free ones, especially when getting started.
How do I keep hunting photos looking natural?
Make gentle edits and always check your work next to the original. Skip the heavy filters, watch skin tones and animal features, and try to keep the landscape colors looking real.
Should I edit every photo from a hunt?
Not at all. Choose just a handful of your favorites—the ones that tell your story best. Put your energy into making those pop. This keeps your collection strong and your editing sessions smooth.
Wrapping Up on Editing Advice for Memorable Hunting Images
Great hunting photos are born in the field, but smart editing lets their value shine. I see editing as part of the creative process from start to finish. By focusing on clear composition, getting exposure right, making sure colors stay true, and keeping your workflow organized, you’ll end up with photos worth sharing and remembering.
Over time, these good habits will speed up your editing and help you build a portfolio you’re proud of. If you keep practicing and aren’t afraid to try new things, your photos will keep getting better and better.
Most Recent Articles:
- Complete Guide On Tracking Game Animals
- DIY 4-Step Guide To Field Dressing And Quartering A Deer
- Night Vision Binoculars For Nocturnal Hunting
- The Science Behind Camouflage Patterns For Deer Hunting

- Binocular Accessories For Hunters

- 9 Tips for Using Trail Cameras To Track Deer Movements

As always, stay safe, enjoy the journey, and please try to leave it cleaner than you found it. If you have any comments, questions, ideas, or suggestions, please leave them in the comment section below, and I’ll get back to you ASAP. You can follow us on YouTube: Man Art Creations for videos of our DIY Adventures.
P.S. Thanks so much for checking out our blog; we really appreciate it. Just so you know, we may receive a commission if you click on some of the links that appear on our site. This helps us keep our content free and up-to-date for everyone. We appreciate your support!
